The Command Line Client, GUI Client, External Diff Viewer launcher, and Tray Notifier are all included in a single installer. The client installer is cross-platform and can be run in an interactive GUI mode or silently from the command-line.
Getting the Installer
Go to our website to get the latest installer for your platform:
http://smartbearsoftware.com/codecollab-download.php
Installers are provided for Windows, Linux/Solaris, RedHat RPM, and Mac OS X. We also supply the raw files without a managing installer in the form of a compressed tar archive.
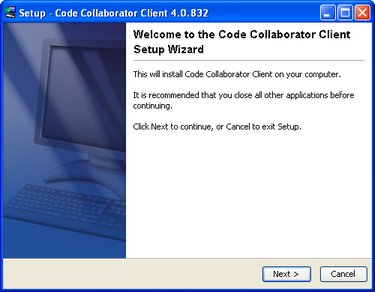
This is the recommended way to install the client software because you get a chance to see all the configuration options and allow the installer to validate your configuration.
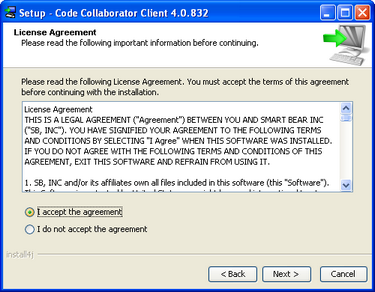
After the welcome screen, you are prompted with the EULA (End User License Agreement):
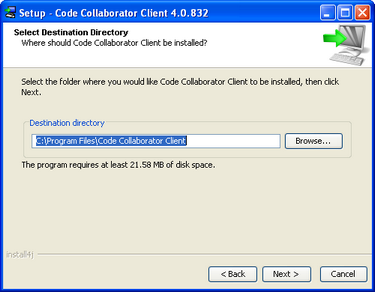
The next screen lets you select where to lay down the files for the installation:
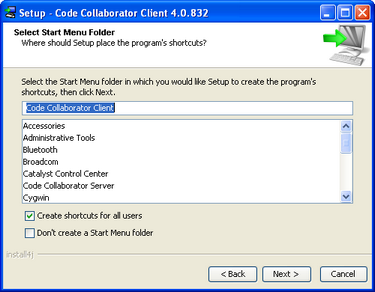
The next screen lets you configure how and if your Start Menu (Windows only) is modified. This doesn't affect the behavior of the command-line client itself:
Next, you configure your connection to the Code Collaborator server:
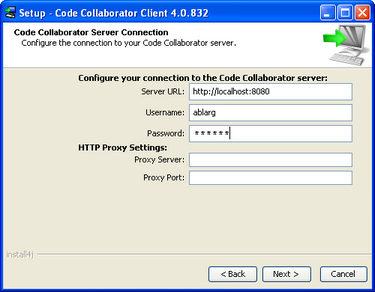
When you configure the URL, be sure to remember to specify the protocol (e.g. http:// or https://) and port number, and path. Leaving out one of those things is the most common mistake.
Your username and password must already exist on the server. Log into the server first from a web browser to test your account information.
If you use a proxy, supply your proxy information as well.
If the connection to the server cannot be established, you'll get an error dialog and an explanation of the problem:
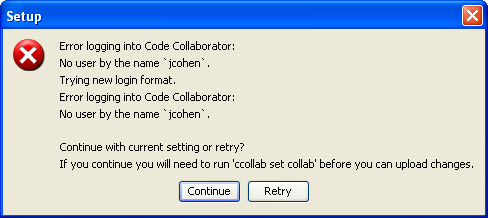
If you select Retry, you can supply different configuration information and try again. Otherwise, if you select Continue, the installation will continue but you will still need to set up your configuration.
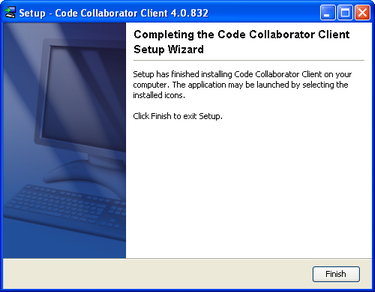
Once you click "Next," the installer will complete:
To run the installer without a GUI, run it from the command-line using the -q switch. In this case you can also use the -dir [directory] switch to specify the target directory to install into.
This installation technique can also be used to install clients remotely on many workstations.
Warning: When run in unattended mode, the installer cannot verify the client's connection with the Code Collaborator server. You might have to manually configure the connection with the server.
The RPM can be installed using an RPM manager or from the command-line like this:
rpm -i ccollab_client_5_0_5021_linux.rpm
If you have a previous installation, you will have to remove it first using a command-line like this:
rpm -e ccollab_client