Code Collaborator uses a stand-alone web server for a cross-platform, no-client, firewall-friendly user interface.
The Graphical Installer
Installers can be run in a graphical, interactive mode or an automatic mode. For first installation, you will need to run the graphical version so you can select options.
First, you need to download the correct installer for your platform from our website:
http://smartbear.com/codecollab-download.php
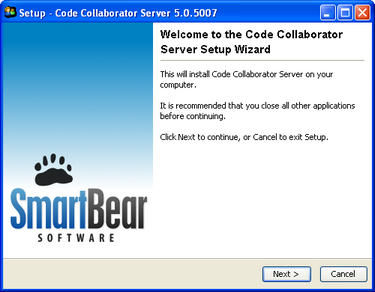
The first screen of the wizard lets you know it's working:
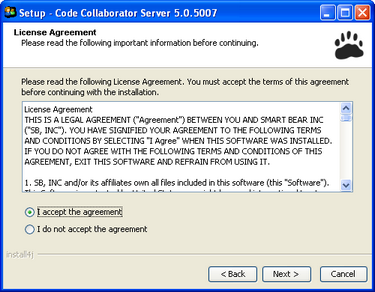
The second screen is the EULA (End User License Agreement):
The next screen allows you to select the disk location for the installation files. Permissions here are important:
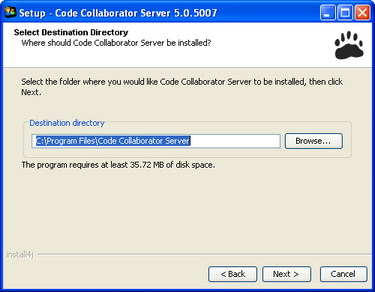
This directory should be writable by the server because several dynamic files are created here including web server logs, temporary storage, and long-term storage for file content uploaded by users. All of these locations can be changed if it is critical that the installation location be read-only, but this requires significant work on the part of the administrator and makes upgrades more difficult.
Make sure at least 5 gigabytes of space is available in the named directory. Your users will need the space for file uploads. You can always move and/or archive the file upload directory.
The next screen configures the web server settings:
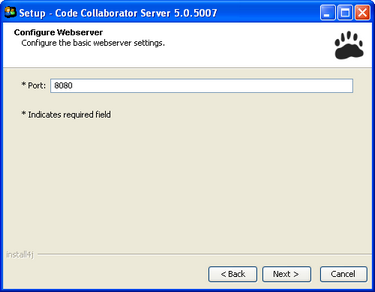
The port number should be selected as to not conflict with any existing services. The installer will attempt to connect to this port when you click Next; if the port is already taken by another process, you will get a warning message. You can elect to try a different port or continue. Continue at your own risk -- probably the server will not be able to start up and you'll have to make the port available and restart the server manually.
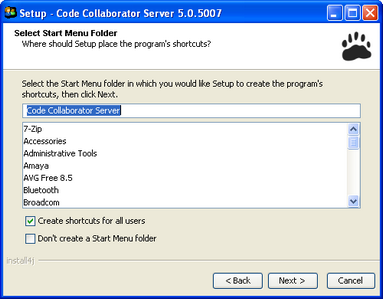
The next screen will ask where you would like to create the Code Collaborator's shortcut. Click "Don't create a Start Menu folder" if you would not like to create a folder for Code Collaborator.
Next, you configure the database connection. The database should already be installed and ready:
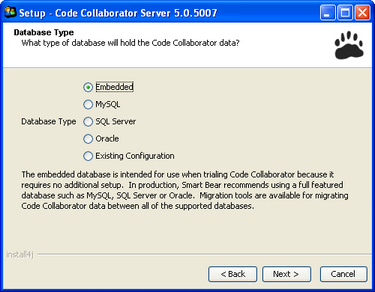
For trial installations, you'll probably want to select the default "Embedded" database. You should migrate to a full-featured database before you use the server in production.
If you picked anything but the "Embedded" database, the next screen lets you configure the connection to the database server:
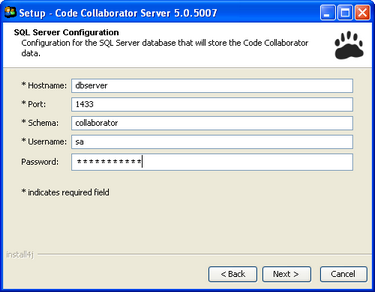
The exact format of this screen depends on the database you chose. The Username and Password fields here refer to the database username and password. Typically, you will want to create a special database username and password for the Code Collaborator application so you can control exactly which data it has access to. This usually means full access to the database created for Code Collaborator and no access to any other database.
The next screen lets you decide how users will be authenticated in Code Collaborator.
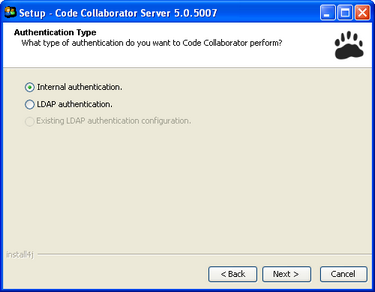
The simplest setting is "Internal," which means Code Collaborator should maintain usernames/passwords in its own database.
If your company uses LDAP or ActiveDirectory, you can use that method to authenticate users in Code Collaborator, which means you don't have to maintain the Code Collaborator user list at all. If you select the LDAP method you will get an additional wizard screen that lets you supply the settings for your LDAP server. See the LDAP section for details.
You will also have the option to choose "Existing LDAP authentication configuration" if you are upgrading an existing installation.
After this, the installer lays down the server files, stopping any existing server if necessary. Once the new files are installed, the server is started automatically, and the installer tells you it is finished:

After you click Finish, a web browser will open, pointed at your installed server.
Warning: If the server hasn't quite had enough time to fully start up, it might take a while for the web page to load and it might even fail to open. Just "refresh" the browser.
The Non-Graphical Installer
If you are upgrading the server instead of installing from scratch, you have the option of installing without any graphical user interface.
We recommend that you always use the graphical interface when possible because it gives you the chance to review settings, especially new settings that we might have added since your last installation.
To run the installer without a GUI, run the installer from a command-line using the -q switch.
To set the installation directory from the command-line, use the -d [directory] switch.
All server instances need to be running on unique and available ports. Each server instance will also need a separate database and license code.
On Windows, install the different instances in different directories, on different ports, with separate database instances. This will get all of the software installed, but only the last one will be properly installed as a service. To install the others as a service, run the following command from the command line:
<install-dir>\ccollab-server /install service-name
This will install that instance as a Windows service with the specified service name. To uninstall a service that was misnamed or no longer used:
<install-dir>\ccollab-server /uninstall service-name
On *nix platforms, you should install the server in multiple directories and then edit your /etc/init.d scripts accordingly.